Week 1 of my 30-day photography challenge explored camera modes, focus, and exposure through structured practice and evidence-based learning strategies.
October might be the best possible time to start a photography challenge in Cleveland. Peak fall foliage has arrived, and I’ve had a blast capturing the colors, textures, and festive spirit of the season.
A week ago, I set out to finally master my DSLR through a 30-day photography challenge. Each week, I’m tackling new technical skills while applying research-based learning strategies I’ve collected through my career in education. My goal at the end of this challenge is to create more compelling images that incorporate the basics of composition, lighting, and storytelling.
Getting a Baseline
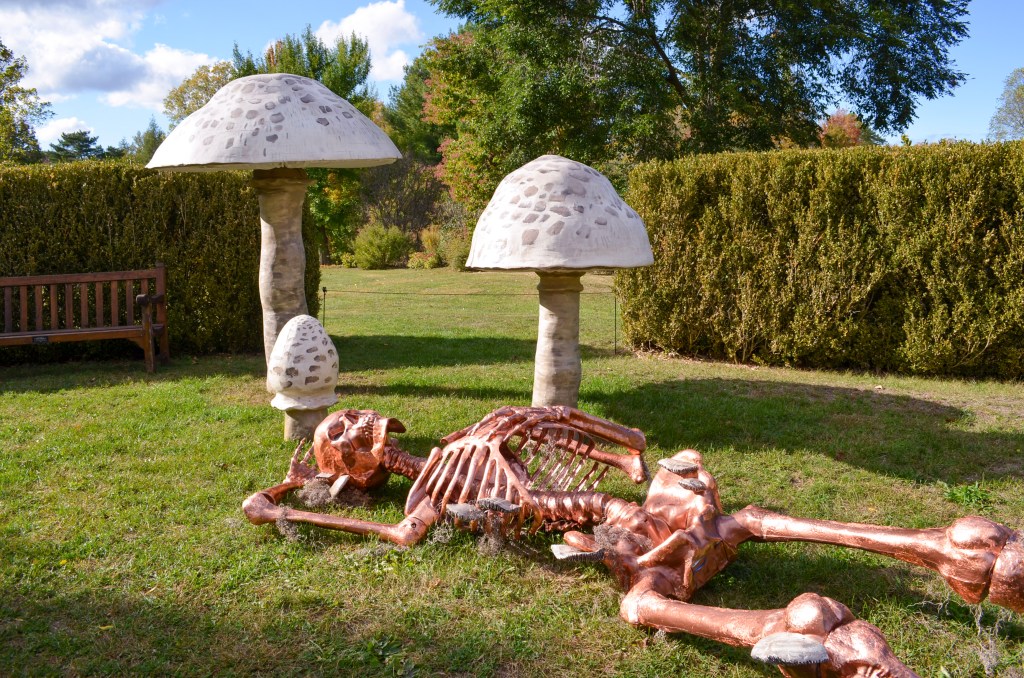
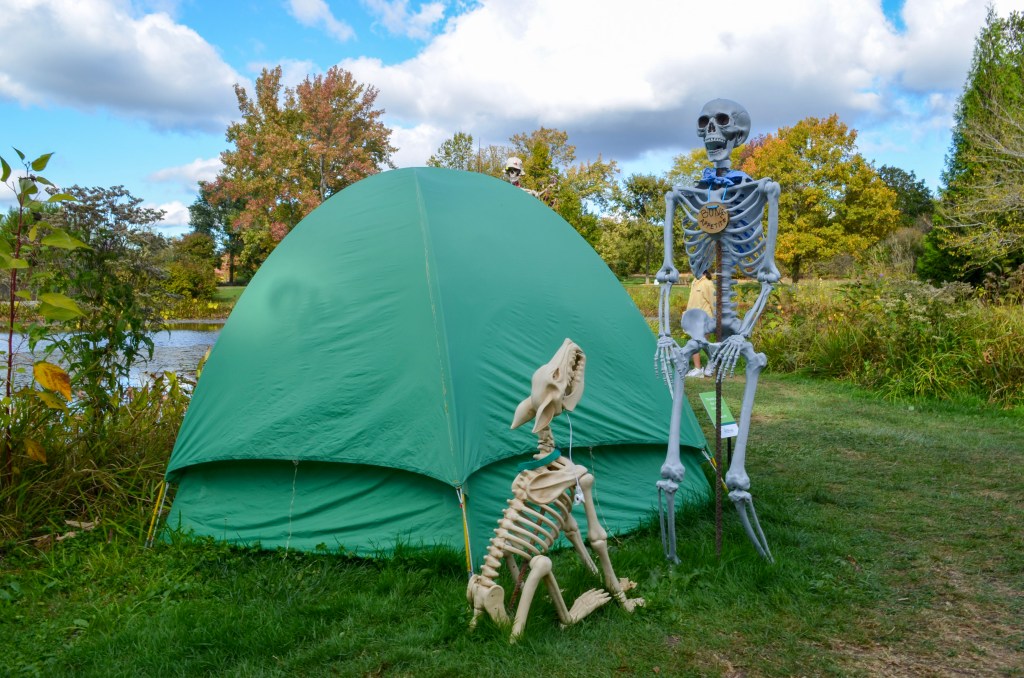
Before starting this challenge, I took a series of baseline shots at Holden Arboretum’s new Skeleton Grove public art exhibit. My Nikon D5100 and I explored Manual and Aperture Priority modes while photographing twelve-foot skeletons striking poses among the fall leaves. Let’s just say they were patient models, though their expressions were a little lifeless!


Week 1: Modes, Focus, and Exposure
This first week of my 30-day learning plan centered on camera fundamentals, including modes, focus, and exposure. I’m using The Digital Photography Complete Course: Learn Everything You Need to Know in 20 Weeks to guide my weekly lessons. This week, I read chapters 1-4 and completed the related exercises, which covered:
- Selecting and moving focus points
- Choosing the right autofocus mode for moving or stationary subjects
- Using the camera’s meter for balanced exposure
- Adjusting exposure compensation for tricky lighting situations
- Manipulating exposure intentionally for mood and storytelling
To build consistency, I treated this challenge like a class I’d signed up for. Each morning before work, I spent 30-45 minutes reading, taking notes, and reviewing previous lessons. In the late afternoons, I dedicated another hour or two to shooting and reviewing my photos.
By the end of the week, I felt more confident controlling where and how my camera focused and adjusting the exposure to achieve the tones and details I envisioned.
Study Strategy
Even after reading several photography books and taking a one-day workshop, I found that in the field I often forgot which settings to adjust or how to solve exposure problems on the spot. To solve this, I used one of the most powerful evidence-based techniques for effective learning: retrieval practice.
Retrieval practice is a learning strategy where you actively recall information from memory without looking at your notes to improve long-term learning and retention. It is more effective than passively re-reading material because the act of retrieving information strengthens the memory, helps identify knowledge gaps, and improves future recall.
To build regular retrieval practice into my study routine, I made flashcards for each reading. On the front of a 3 x 5 index card, I wrote questions such as: “What makes camera metering inaccurate?” and “When is positive exposure compensation useful?” On the back, I answered each question in my own words.
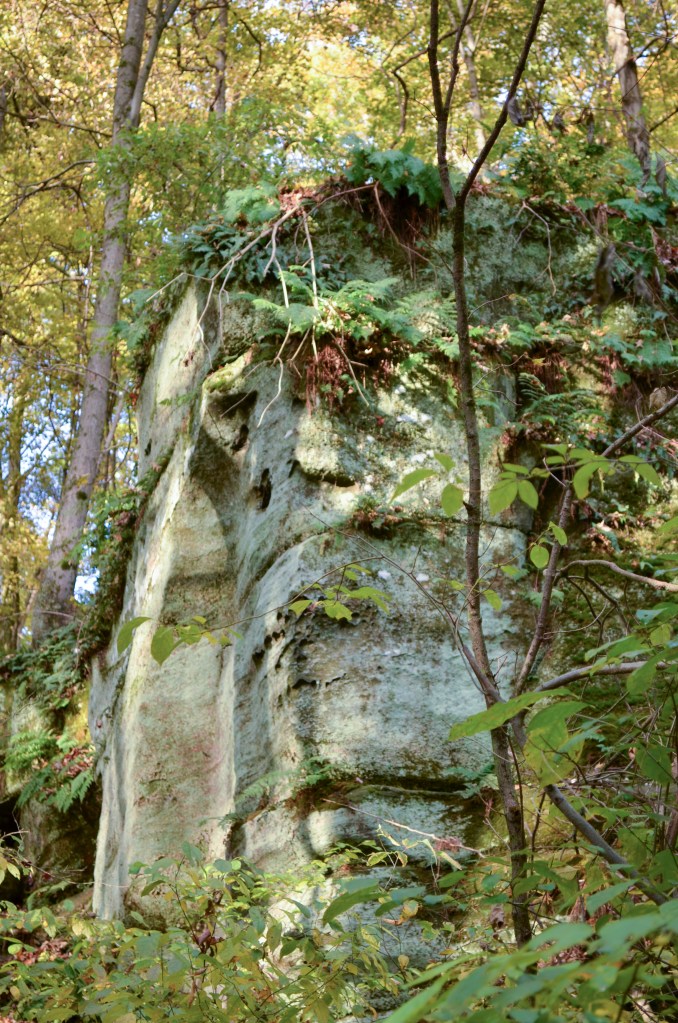
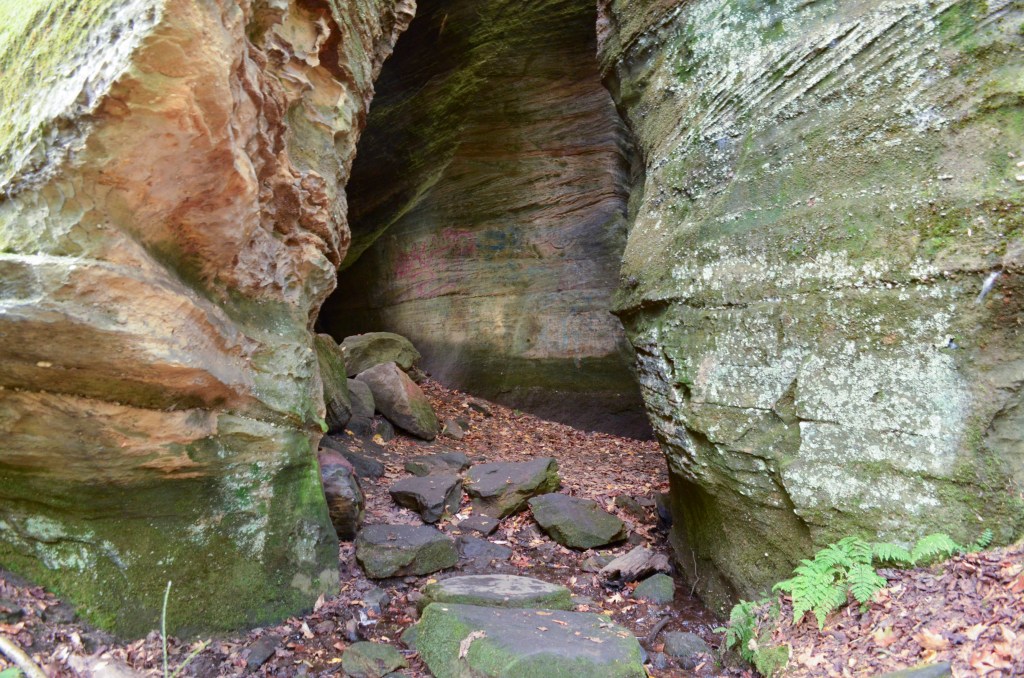
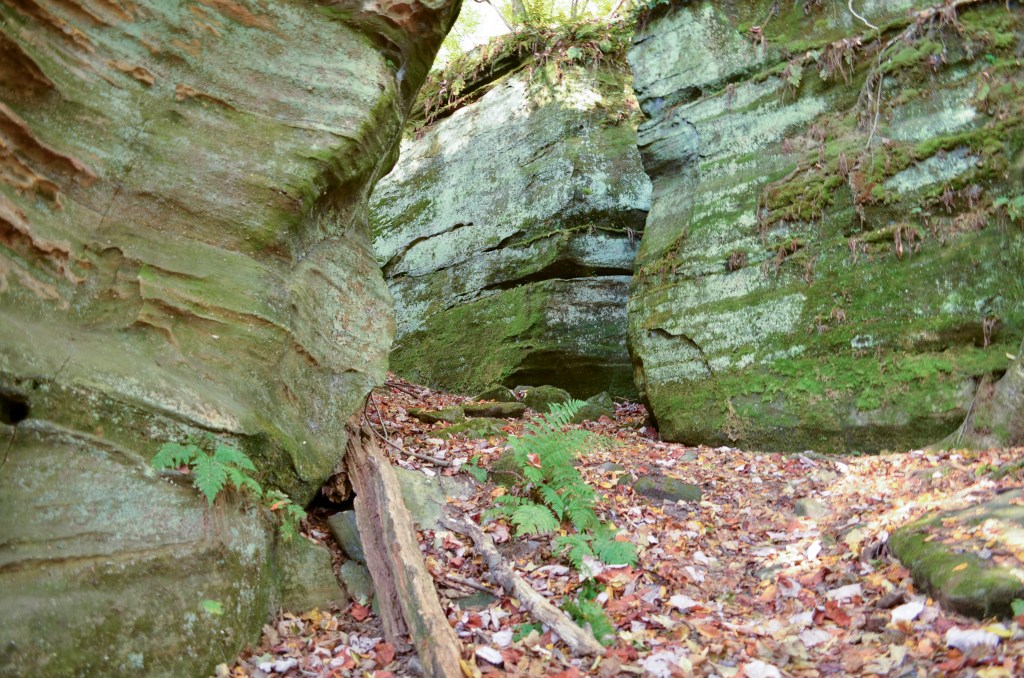
Testing myself this way forced me to recall the concepts actively, not just recognize them. That mental effort paid off later on the trail when I ran into tricky lighting situations. While photographing a shadowy sandstone cliff topped with sunlight treetops, I remembered to use spot metering and adjust the exposure compensation to balance the scene.
Flashcards might bring back memories of memorizing multiplication facts in third grade, but they’re remarkably effective. Quizzing yourself instead of rereading or highlighting notes strengthens retrieval pathways in the brain, making it easier to recall information when you need it. They work best when practice sessions are spaced out over time. A bit of forgetting between sessions adds just enough challenge to make learning deeper and more durable.
In the Field
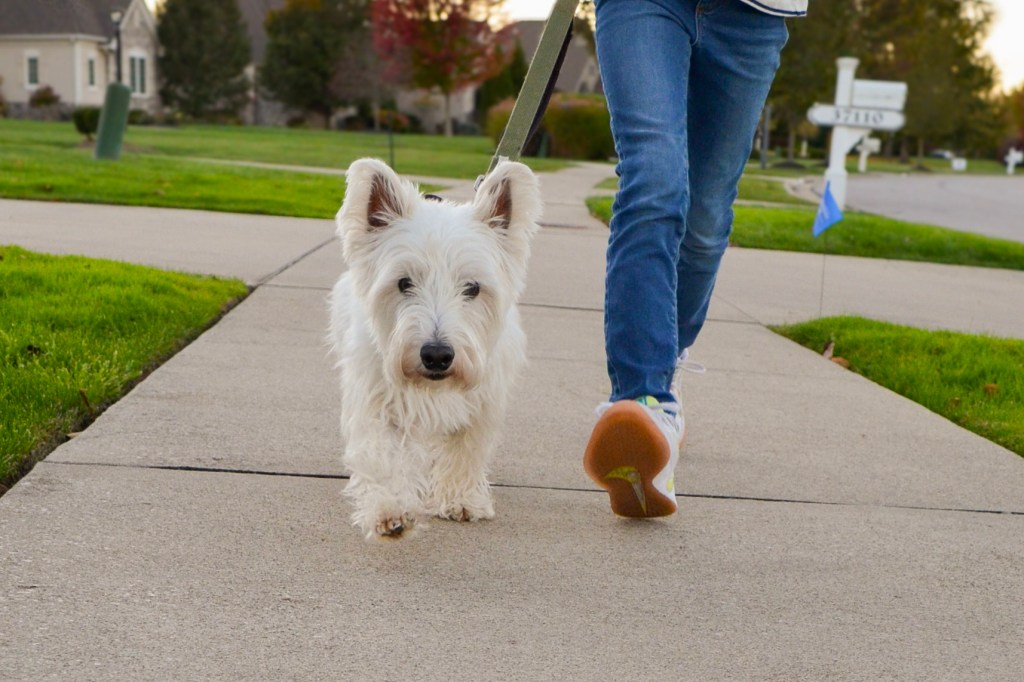
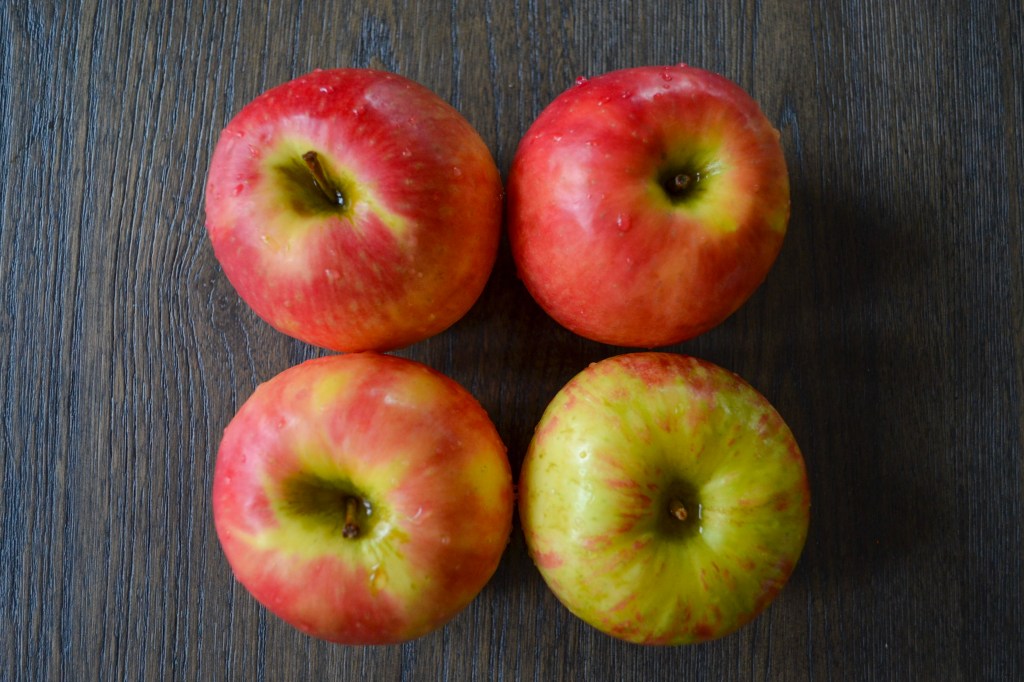
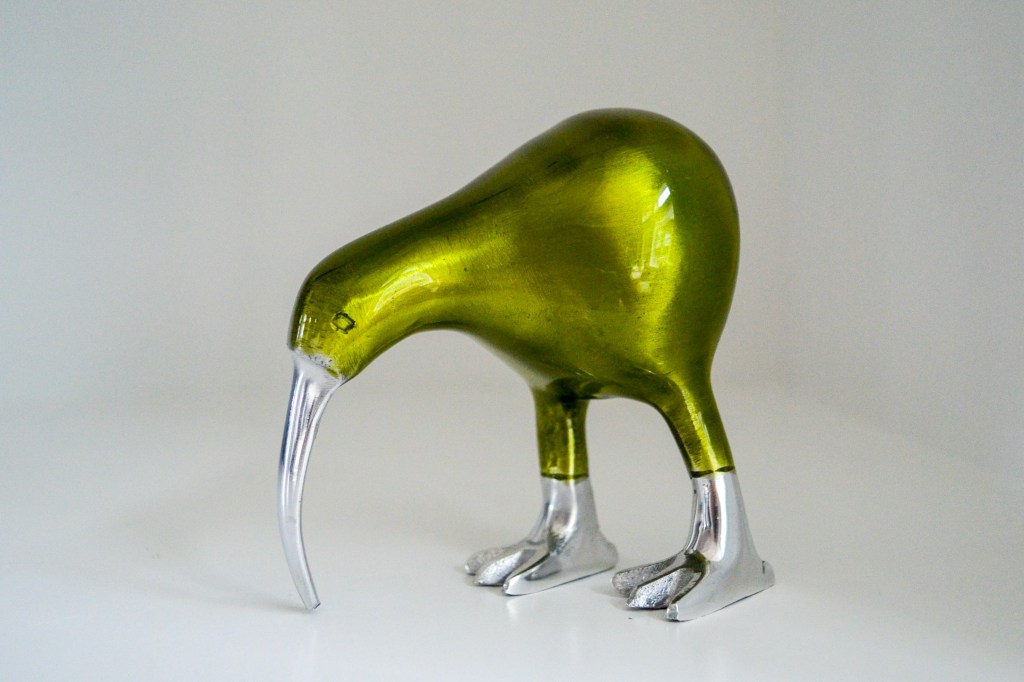
Of course, learning sticks best when it’s applied. This week’s exercises gave me plenty of opportunities to put theory into practice. I experimented with Manual and Autofocus modes on household still lifes, used Continuous Autofocus for action shots of my daughter and our dog Rex on an evening stroll, and light metering and exposure compensation during my hikes.
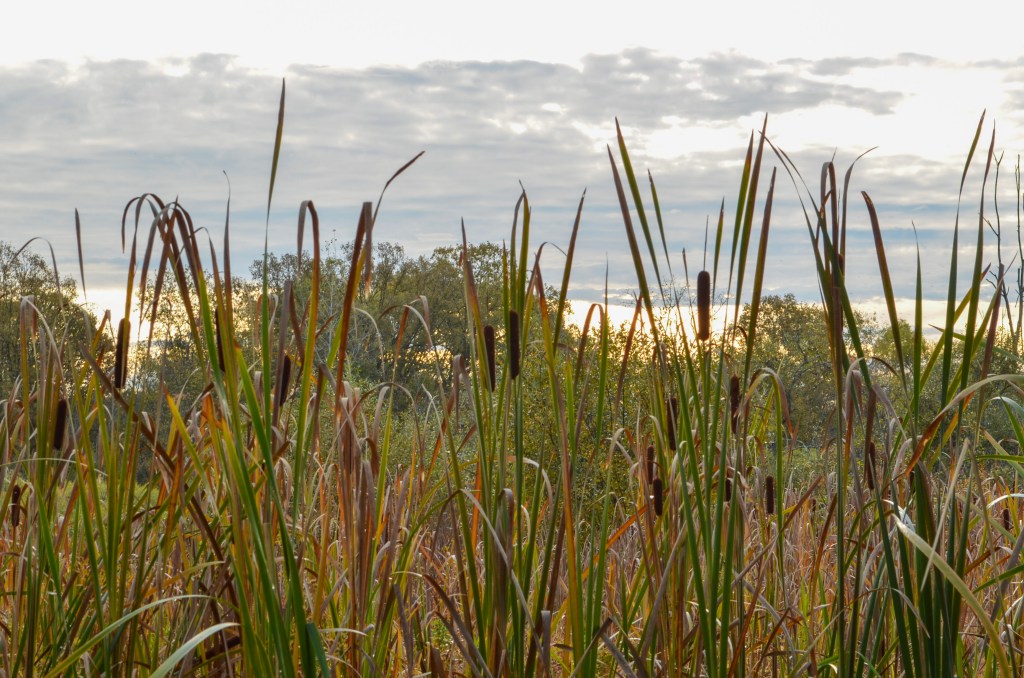
Later in the week, I tried bracketing exposures to capture a sunrise over cattails in a wetland, adjusting the settings incrementally to balance the glowing sky with the darker foreground. Working in different environments introduced new lighting and focusing challenges. This helped me apply what I’d learned in more flexible ways.
Each outing produced new insights and new mistakes to learn from. I recorded these “aha” moments” in a spiral-bound photography journal. This ongoing reflection is helping me come up with ideas for reshoots, plan my time more effectively, and track my progress.


Looking Ahead
As I begin Week 2, I’m turning my focus to the next set of fundamentals: contrast, depth of field, close-ups, and conveying movement. I’ll share another update on my progress. And in the meantime, you can follow along with my favorite shots on Instagram.


Leave a comment